As a kid, I loved marshmallows. I mean, who doesn’t love a good s’more?! But as an adult, on a healthier path, I chose not to eat the processed ones you find in the grocery store. But fear not!! I’ve found a way to enjoy homemade healthy marshmallows and actually do something good for your body! Does it counteract the sugar in the recipe? Probably not, but the collagen beef gelatin in this recipe does bring some real health benefits, and this is something I don’t eat all year long – so, I think these are worth the effort to make and the indulgence!
As we mentioned above, the processed marshmallows don’t have a place on my current health journey. So, I switched up a few ingredients to make these homemade marshmallows healthier. I replaced the refined sugar with natural honey and maple syrup. Yes, it is still sugar, but there are added health benefits to both.

Honey:
- Has antibacterial properties
- Been known to heal burns and wounds for centuries
- Soothes sore throats and eases cough
There are many other qualities that Honey might possess, like lowering the risk of heart disease, but they are still up for debate so we didn’t include them here. If you want to learn more about the health benefits of honey, click HERE.

Maple Syrup:
- 165% RDI of Manganese
- 28% RDI of Iron
- Has 24 different antioxidants
- Is lower on the Glucose Index scale than white refined sugar
When using maple syrup, make sure you read the label and are getting 100% pure. A lot of products use a maple syrup flavoring.

Collagen:
- Great for digestion
- Strengthens joints and bones
- Improves skin, nails, and hair
While we used Beef Gelatin in this recipe, it contains a ton of collagen, so you are definitely getting all the benefits. Click HERE if you want to learn more about the health benefits of Collagen.

This recipe does require some resting time but that is all hands off – so once you’ve made your homemade marshmallows, you can rest while they set up.
I hope you enjoy these as much as I do!! Please tag us in your pictures when you make these. Instagram Facebook
Print
Homemade Marshmallows made with Collagen
Description
Homemade marshmallows taste so much better than the storebought kind and are pretty easy to make plus these have the added benefit of using collagen – so they are healthier!
Ingredients
- 1 cup water (divided into 2 halves)
- 3 Tablespoons Vital Proteins Collagen Beef Gelatin
- 1/2 cup honey
- 1/2 cup maple syrup
- 1 teaspoon good quality vanilla extract (we love Simply Organic Vanilla Extract)
- 1/2 cup powdered sugar
- 1/2 cup arrowroot
- Optional: 5 ounces Enjoy Life chocolate chips
- 1/2 Tablespoon of coconut oil crushed
- candy canes lollipop sticks
- **You will need a candy thermometer for this recipe
Instructions
- Take a 9 x 9 pan and line it with parchment paper. In a small bowl, mix together the powdered sugar and arrowroot. Sprinkle a good bit of this mixture over the bottom of the 9 x 9 pan that is lined with parchment paper and set aside.
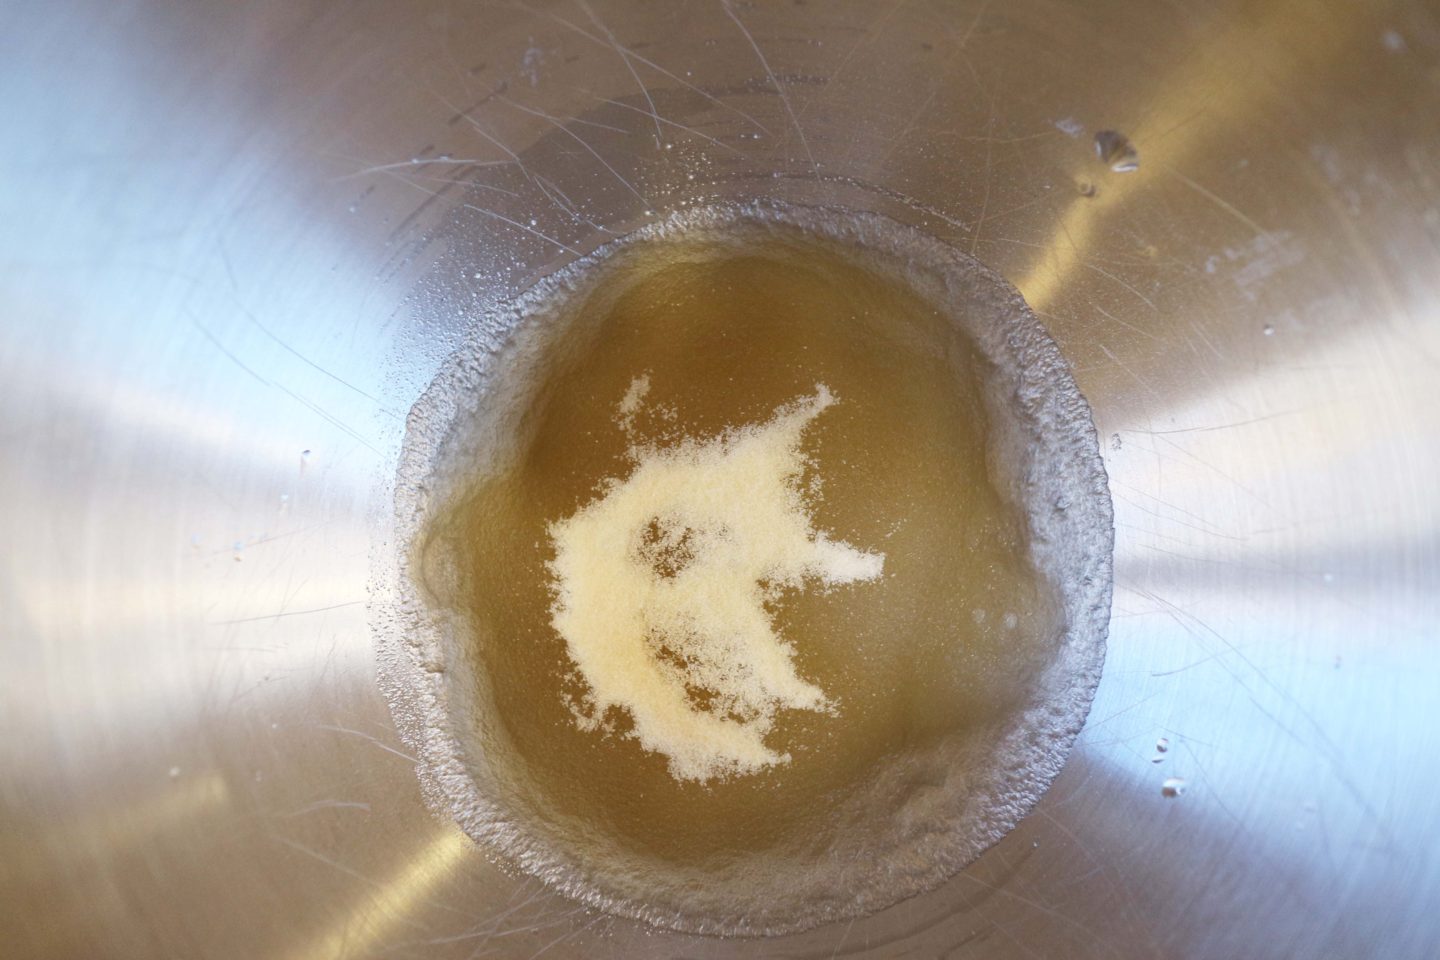
- In the bowl of your stand mixer* pour 1/2 cup of water and sprinkle the 3 tablespoons of gelatin over the water and let it soften with the water, also called letting the gelatin bloom for about 10 minutes.
- While the gelatin is blooming, pour the other 1/2 cup of water into a medium-sized saucepan. Add the maple sugar and honey into the pot and attach a candy thermometer* to the saucepan.
- Place the saucepan over a medium-high heat, stirring just the first minute as it heats up to 240° which is the “soft ball” stage, this can take about 15 minutes. Keep an eye on your thermometer so that you don’t go above 240°. Stirring throughout the heating process will not help it reach a higher temperature faster but may cause it to boil over so we suggest against too much stirring after the first minute.
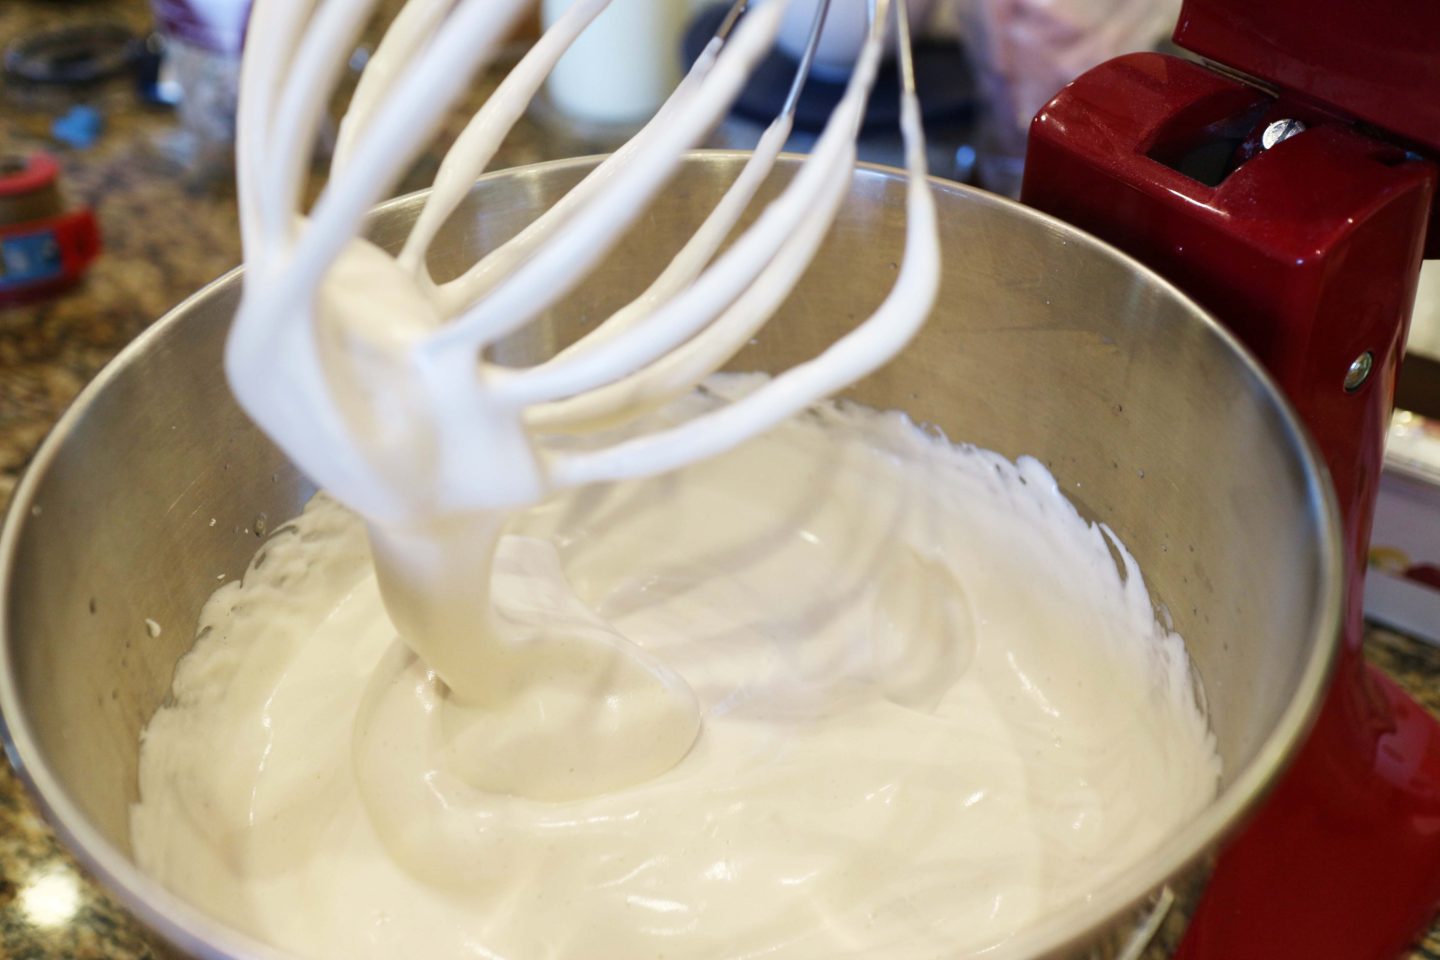
- Once your sugar mixture has reached 240°. Go back to the mixer and on a low speed, break up the gelatin slowly. Then also slowly, pour the melted sugar mixture over top. Keep the speed low until it all incorporated so it doesn’t spatter and burn you. Then you can increase the speed gradually to high and continue to beat until the mixture looks like marshmallow fluff (yes, that stuff you find in a jar at the grocery store;). This process takes about 10 minutes.
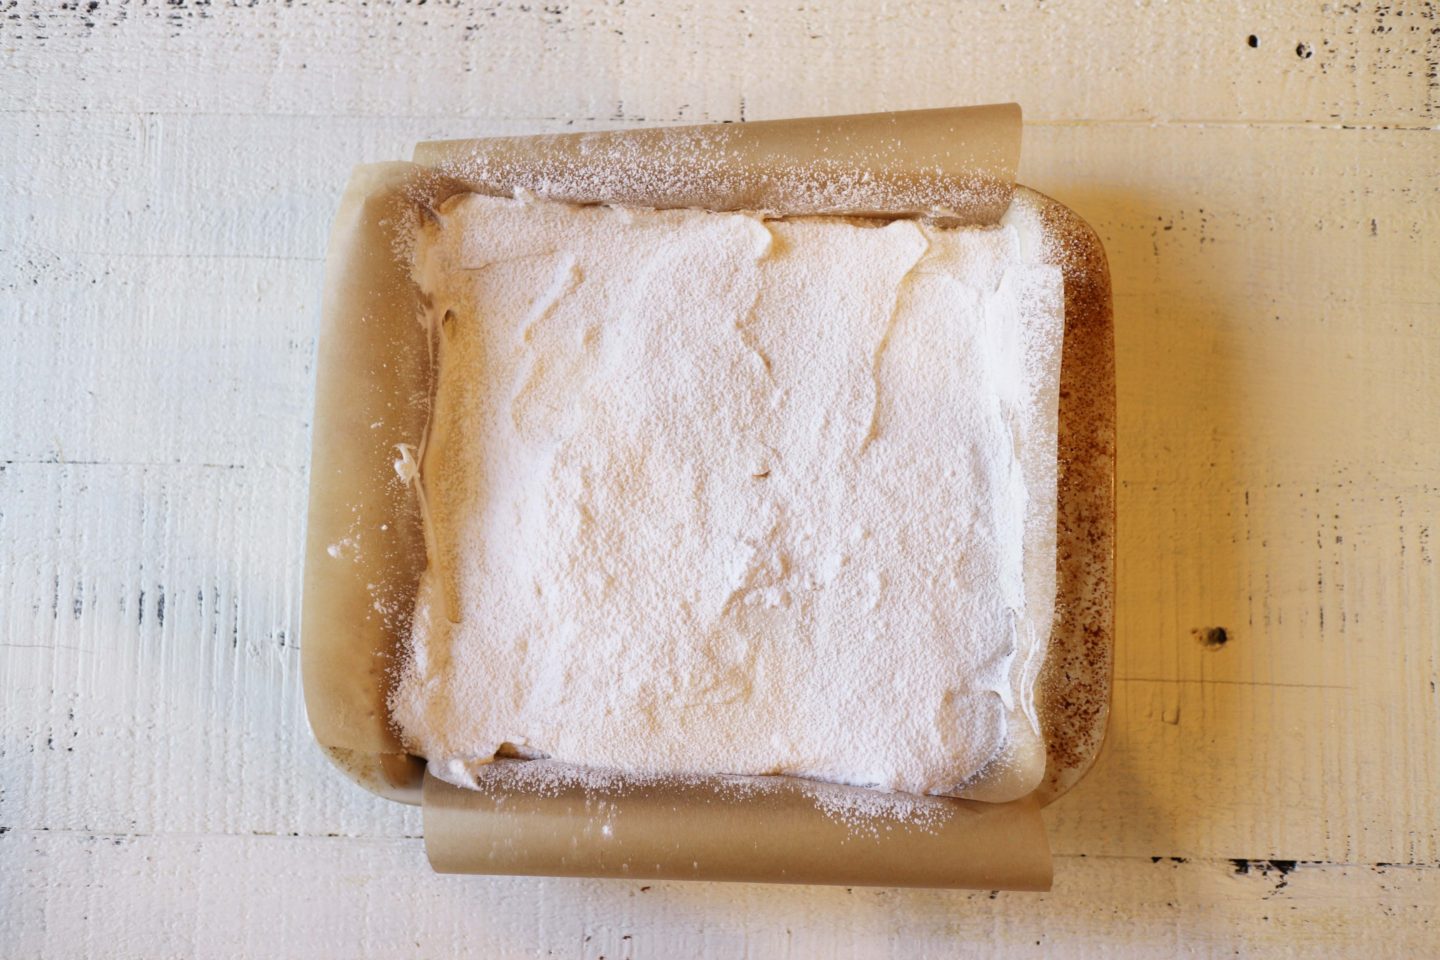
- Working quickly, pour the marshmallow mixture into the prepared 9 x 9 pan and spread around evenly and flatten the top with a spatula ( you might need to sprinkle the spatula with the powdered sugar mixture so it doesn’t stick). Sprinkle enough of the powdered sugar mixture on top to make sure it is evenly coated.
- Set the pan of marshmallows aside for at least 6 hours or overnight – this will allow them to set up.
- Once the marshmallows have set up, you can invert them on to a dusted cutting board or countertop. Cut into squares (might need to powder your knife with more powdered sugar to prevent it from sticking) and toss each square in more powdered sugar if you like – this will prevent them from sticking together when you store them. You can enjoy roasting these or put them in some hot chocolate, we love our recipe!
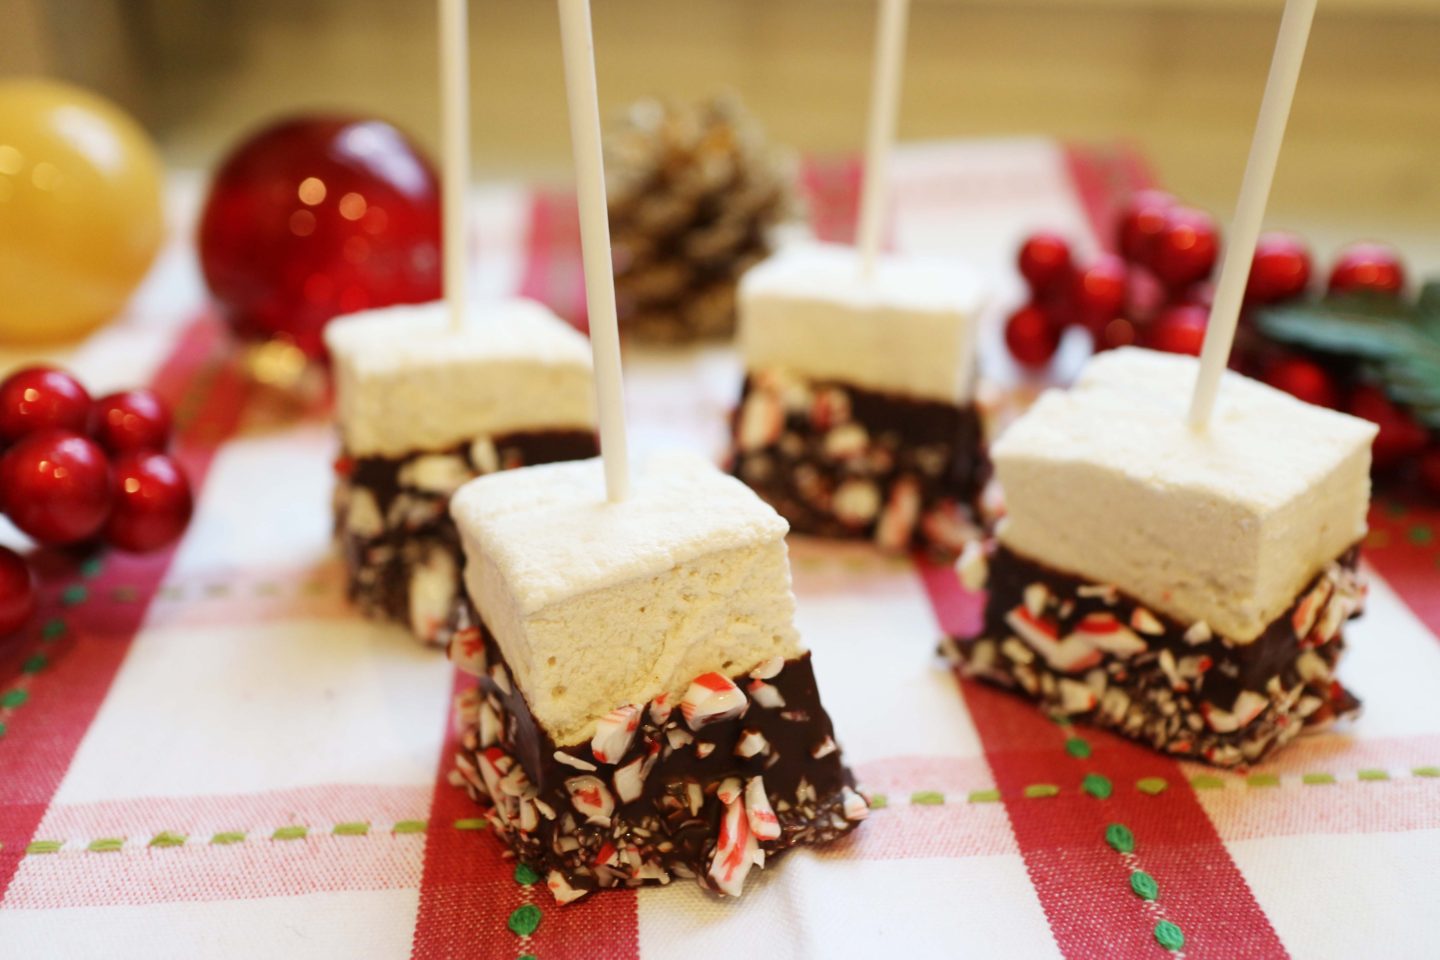
- If you want to coat them chocolate as we did (they are delicious!), melt the chocolate chips along with the coconut oil in a microwave or double boiler. If using a microwave, do so in 15-30 second increments so you don’t burn the chocolate – trust us on this, we’ve ruined plenty of chocolate being in a hurry:)
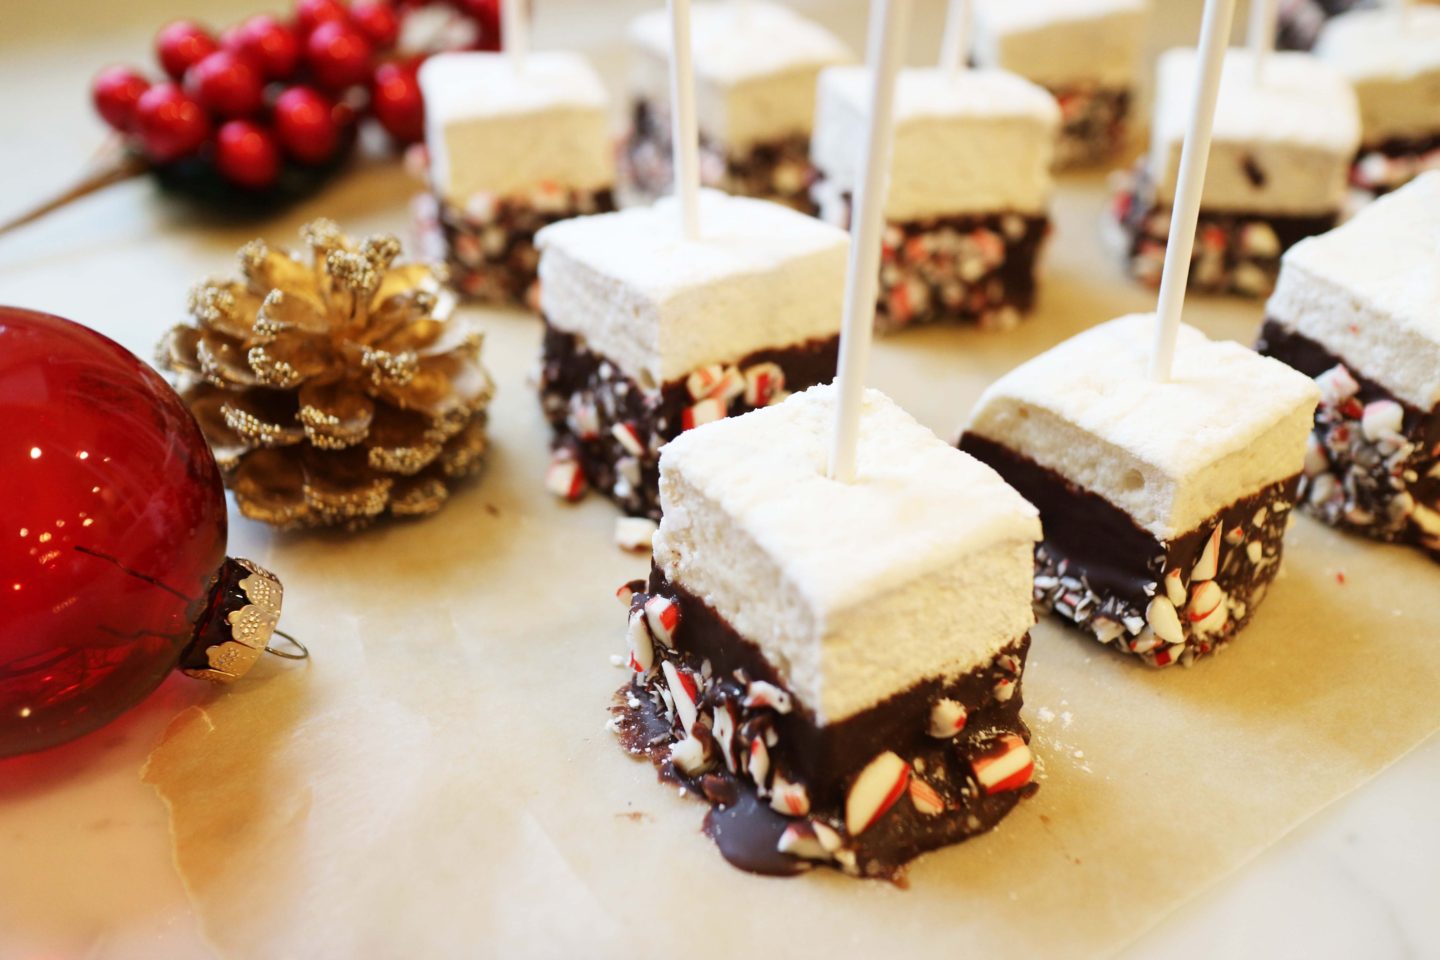
- Once the chocolate and coconut oil is melted, take your squares and dip them in the chocolate – you can use a fork or lollipop stick as we did. Once the marshmallow is coated to your liking, roll it in the crushed candy canes and set on wax paper for it to harden. Now you can enjoy these marshmallows or share them with friends and family.
Notes
We used a stand mixer for this but imagine a hand mixer would work just as well. A candy thermometer is best but if you use another kind, make sure it can stay in the pot and reaches above 240° which is called the “soft ball” phase in candy making.

