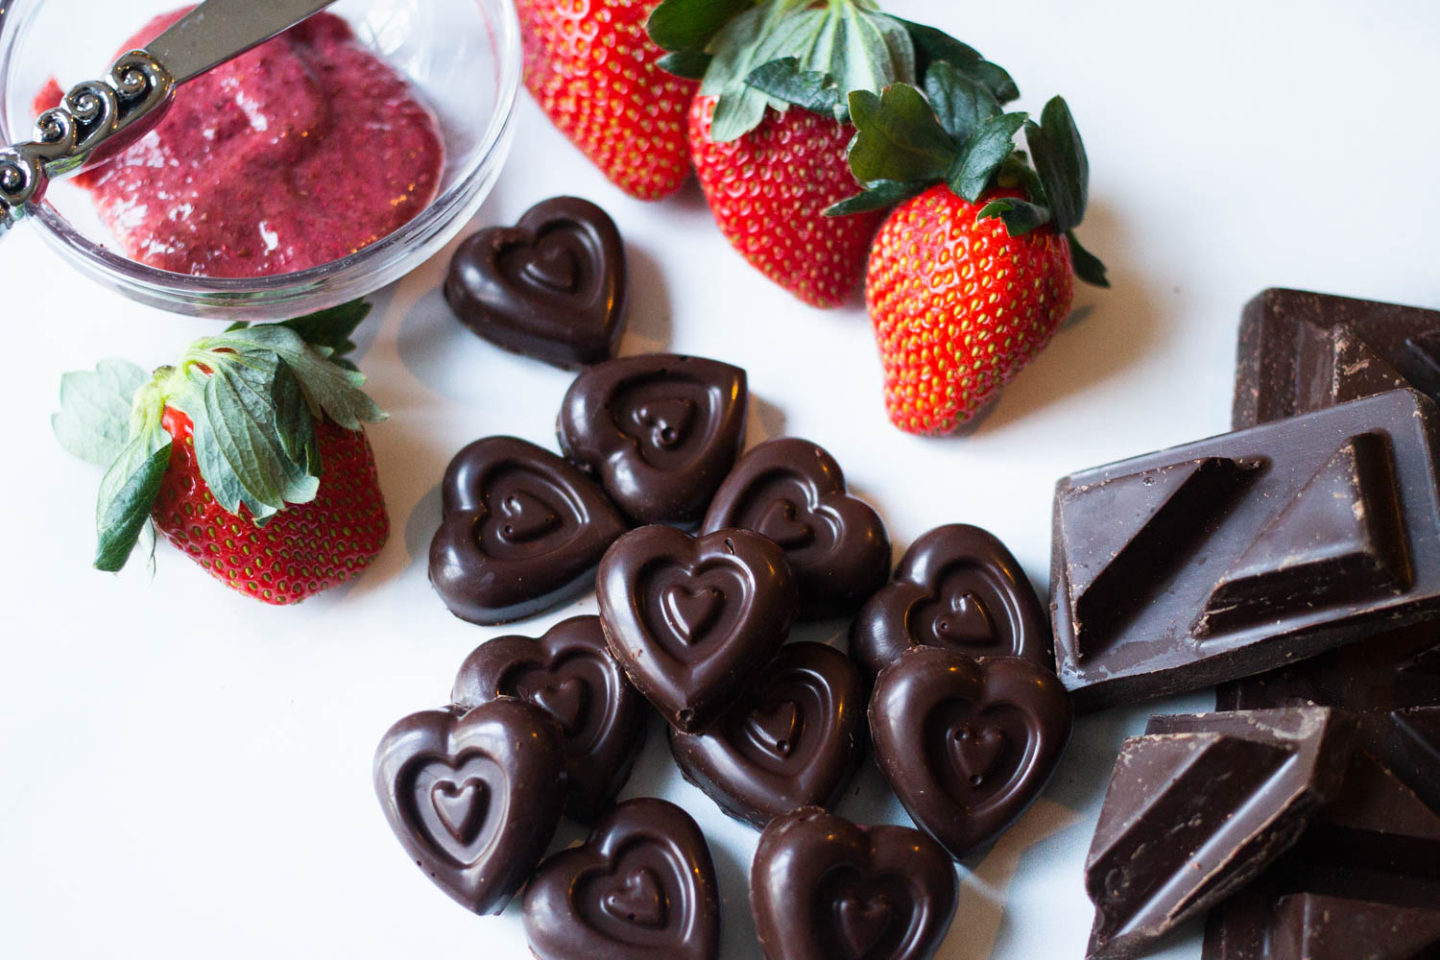
Nothing says “I love you” like chocolate strawberry truffles – and when they are homemade and healthier than the kind you buy at a store, well that is even better!
Why homemade?
Have you ever looked at the back of these prepackaged chocolates? They often have ingredients that we just don’t need in chocolate like sodium metabisulfite which is a preservative and a disinfectant that is made in a pharmaceutical lab.
I don’t know about you, but I don’t want my chocolate disinfected!?!? And sodium metabisulfite can actually cause irritation in the nose, throat, and lungs – triggering an asthma-like reaction (source).
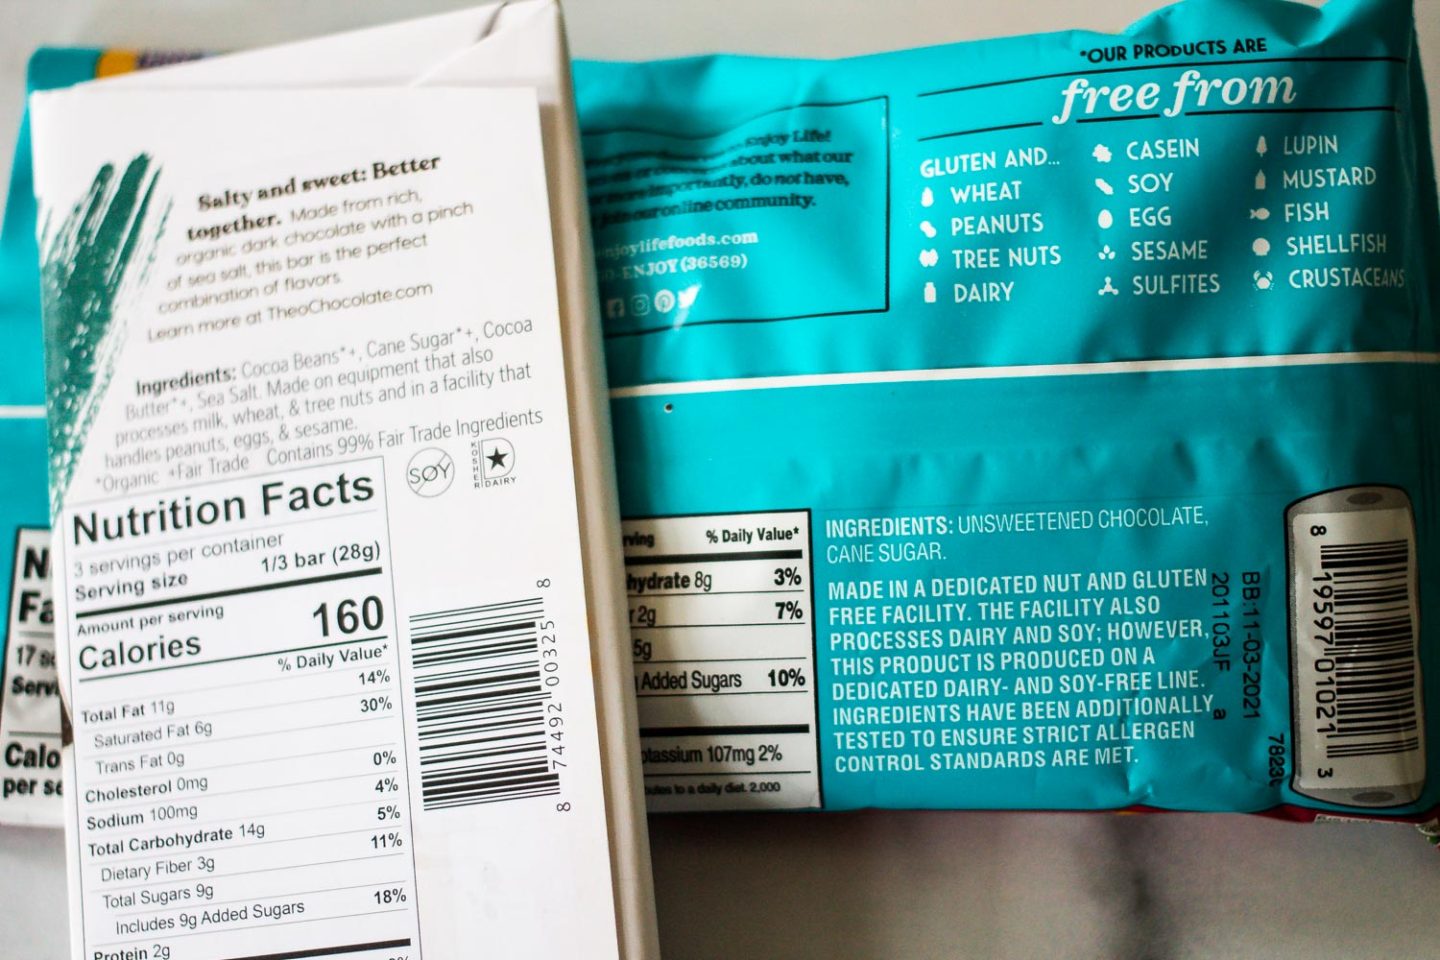
And that’s just one ingredient that I read – there are plenty more. And don’t get me started on “natural ingredients” that can literally mean an array of things.
But don’t worry – I’ve got you covered with a delicious and healthier chocolate strawberry truffle recipe.
How are these Chocolate Strawberry Truffles healthy?
Let’s start with the filling – I used the homemade strawberry jam recipes on this site. But please don’t worry, it’s very easy to make! It’s made with fresh strawberries and chia seeds to add fiber. And there is only one tablespoon of sweetener. Depending on if you are vegan or not – you can use maple syrup or honey.
You might wonder if it’s sweet enough with only a little bit of sugar, but I assure you – it is delicious!
Now let’s talk chocolate – I tested these with a quality small batch chocolatier dark chocolate as well as dairy-free chocolate. They were both delicious!
The important thing is to know what’s going into your chocolate. I used Enjoy Life Dark Chocolate Chips. Their chocolates are so good – free of many allergens and you can pronounce every ingredient! All that said, you can really use any quality dark chocolate you like.
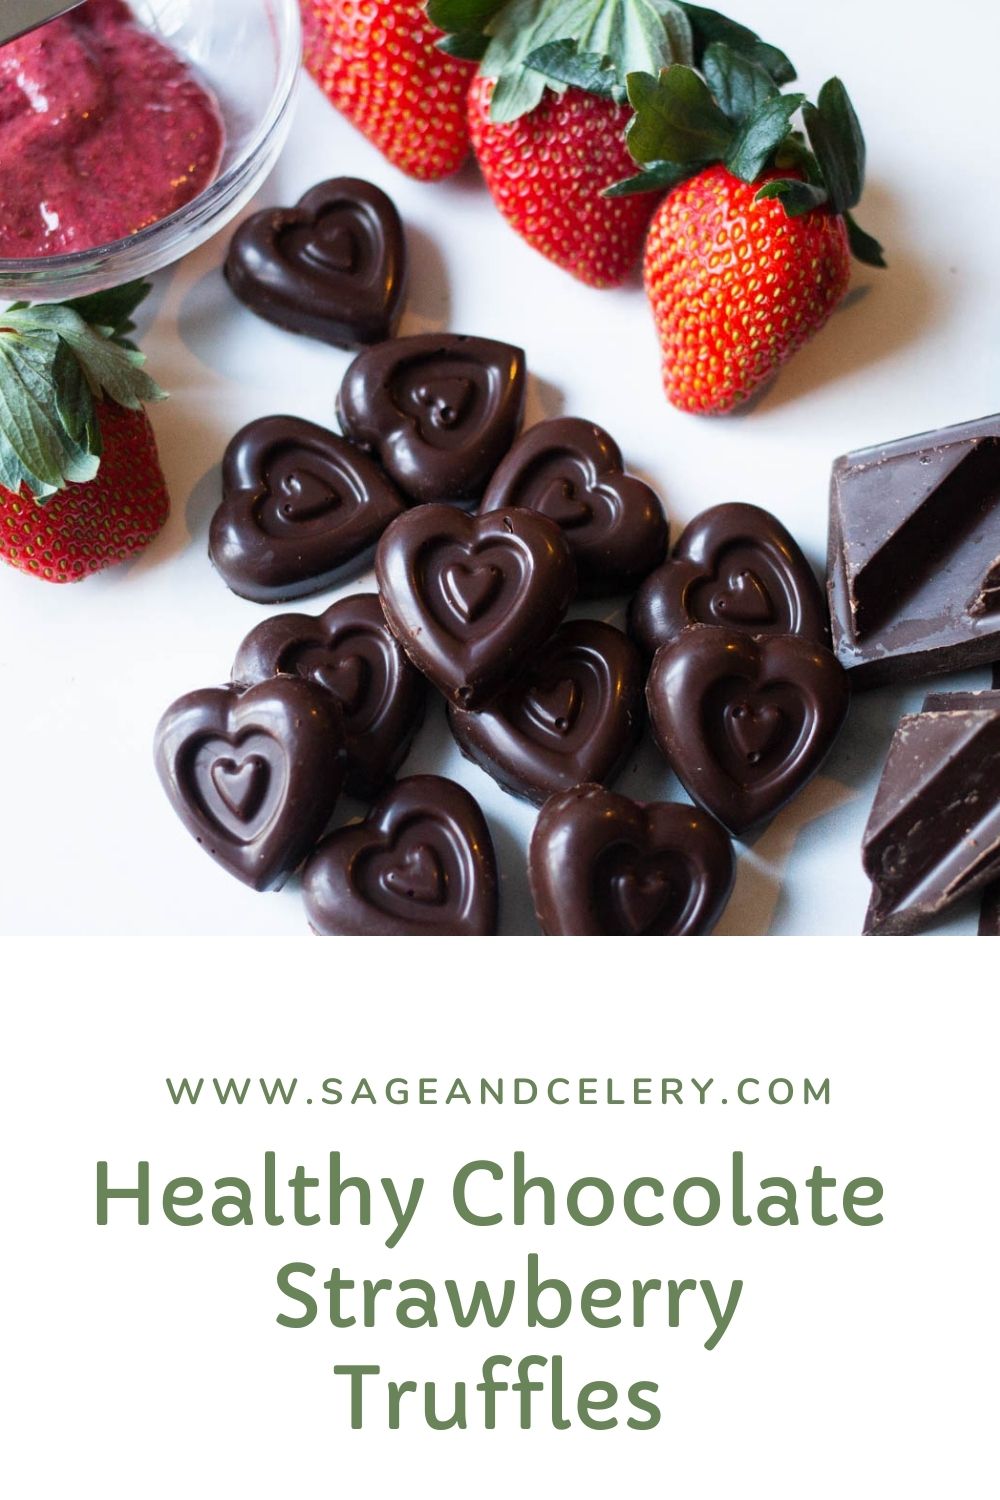

Healthier Chocolate Strawberry Truffles, Gluten-Free and Vegan
- Prep Time: 1 hour 20 minutes*
- Total Time: 0 hours
- Yield: 12 heart shaped chocolate truffles 1x
- Category: Dessert
- Diet: Gluten Free
Description
These homemade Chocolate Strawberry Truffles are super easy to make and very delicious – your Valentine (or yourself;) will love them!
Ingredients
For the Strawberry Jam:
1 cup strawberries, chopped
1/2 T freshly squeezed lemon juice
1/2 T honey (if vegan, use agave or maple syrup)
1 T chia seeds
Optional: strawberry flavor extract, I used 1/4 of a teaspoon of Frontier Co-op
To make the truffles:
100 grams (or around 1/2 cup) of chopped quality dark chocolate or dark chocolate chips
Heart-shaped chocolate mold, I bought mine at Home Goods but HERE is one similar from Amazon
Instructions
To make the strawberry jam:
It’s a good idea to make this ahead of time and let it chill in the refrigerator before making the chocolates
1.) Place chopped strawberries in a medium saucepan and cook over medium heat until the fruit breaks down and becomes syrupy. Mashing the fruit as you go with a potato masher or the back of a large fork.
2.) Remove from heat and stir in the lemon juice and honey. This is where you want to taste it to see if you want to add more lemon juice or sweetener as well as the optional strawberry flavoring. Then once you have it the way you like, stir in the chia seeds.
3.) Let the jam sit for about 5 minutes to thicken. If you like your jam thicker, feel free to add more chia seeds about 1 teaspoon at a time until it is just how you want it. Place in an airtight container and in the fridge to cool off.
This recipe will make about 3/4 cup of jam. Refrigerate to keep fresh.
To make the truffles:
1.) Chop the chocolate into fine even pieces or if you are using chocolate chips, just pour them into a microwavable bowl. Microwave in 30-second intervals and stir in between until the chocolate is melted and drips off the spoon.
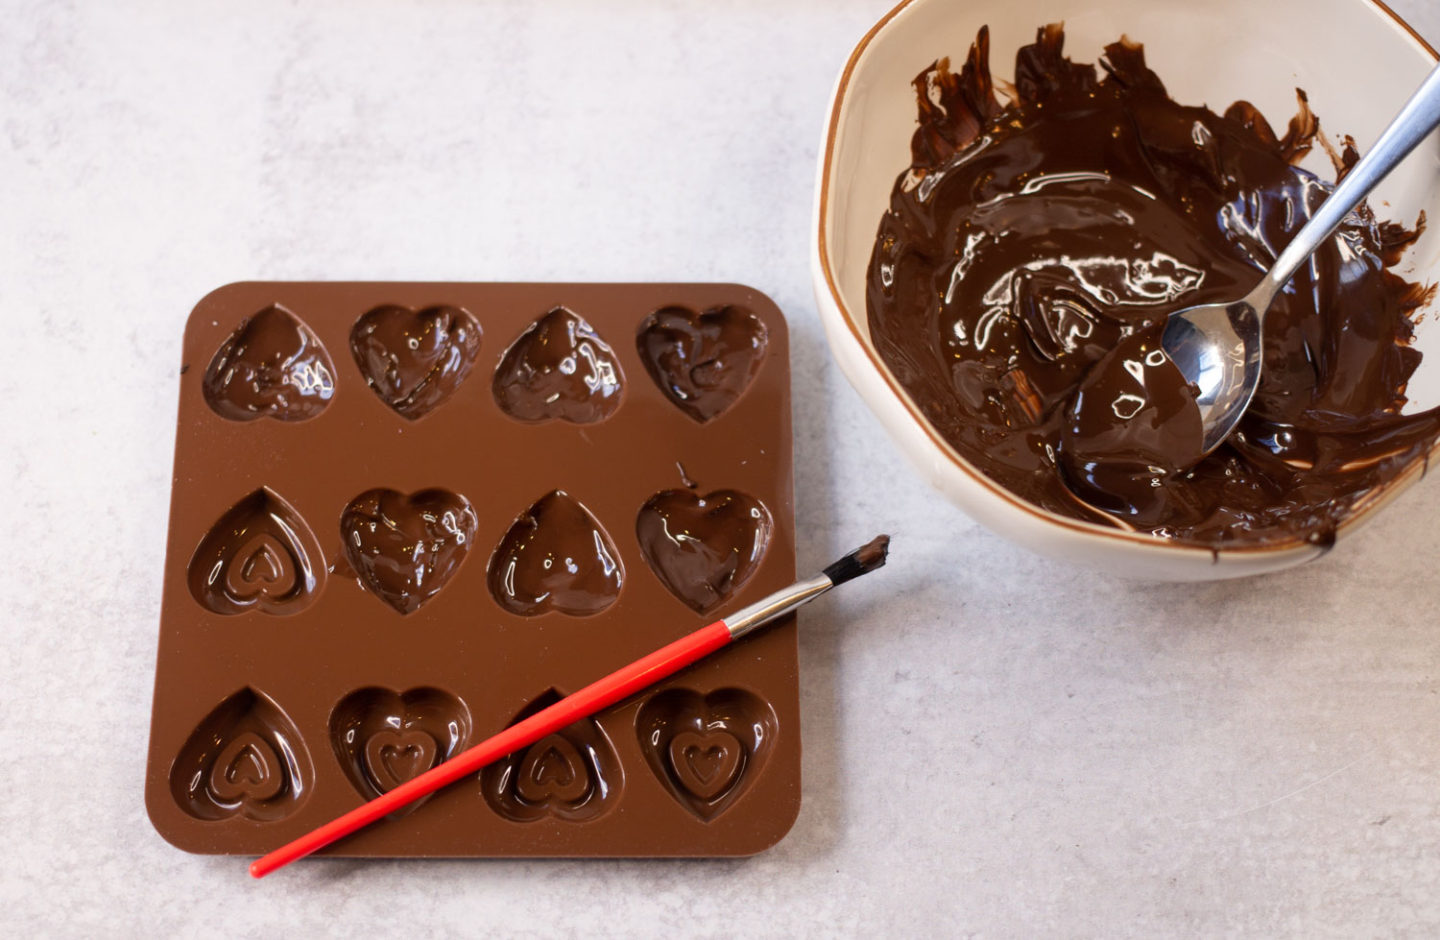
2.) Carefully spoon enough chocolate to coat the bottom of the mold. You might need to take your spoon and help it climb up the sides of each mold (you won’t use all of the chocolate yet). Once finished filling all the molds, tap the mold a few times on the counter to get out any air bubbles and place it in the refrigerator for about 30 minutes.
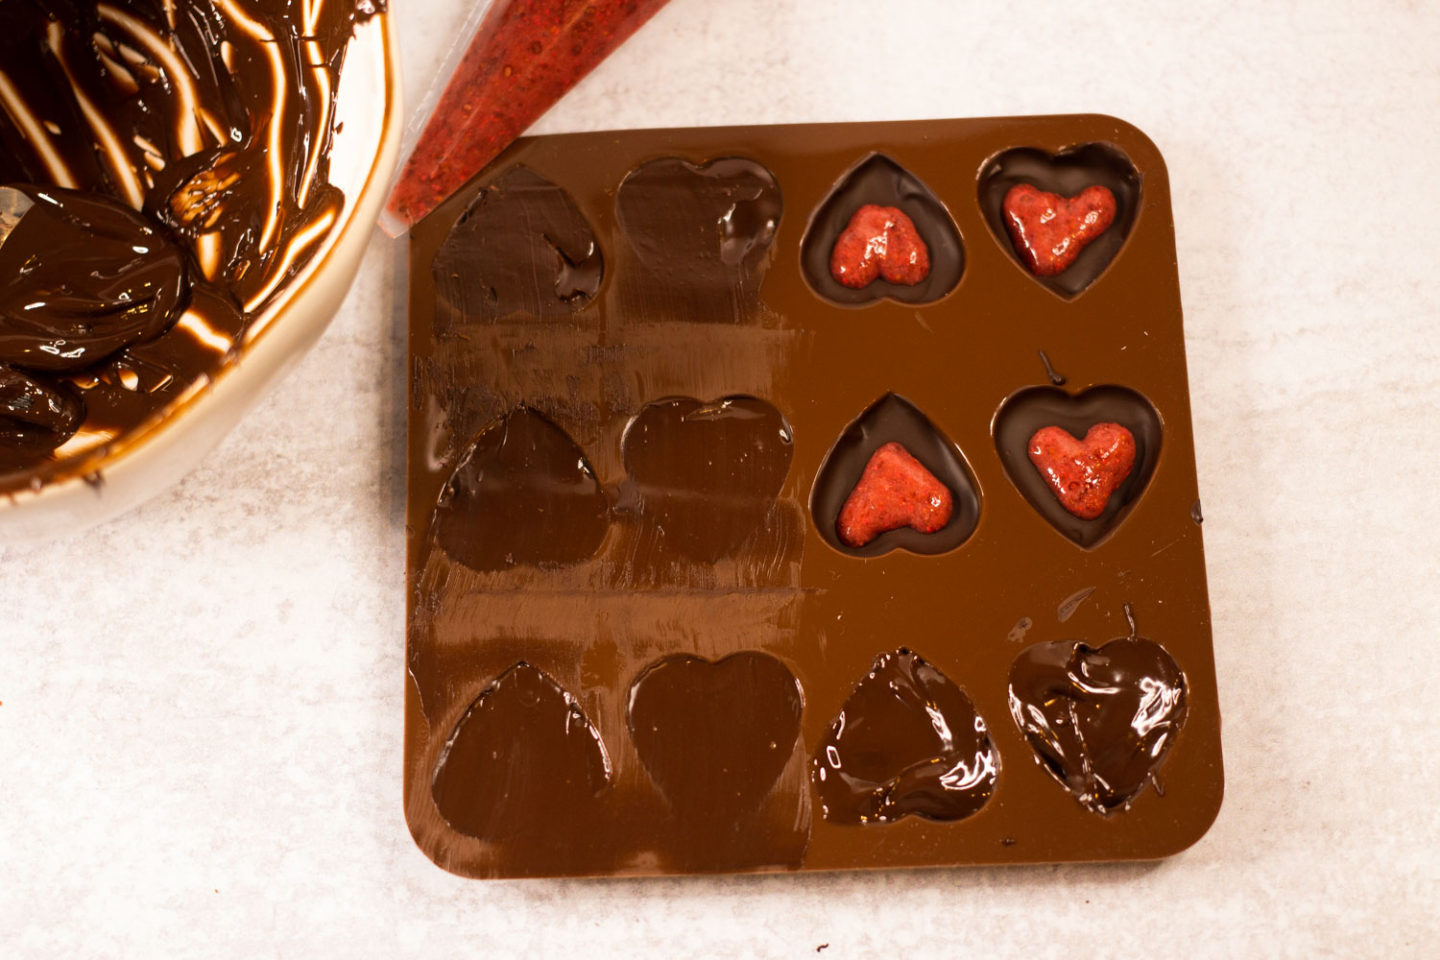
3.) Pull the mold out of the fridge and make sure the chocolate has hardened. If not, place it back in for another 30 minutes. Once hardened, take it out and carefully place about 1/4-1/2 teaspoon of the strawberry filling in the middle of the chocolate mold. Pro tip: make sure the strawberry filling is in the middle and not spread to the edges of the mold or it might ooze out the sides.
4.) Melt the remaining chocolate again, in 30-second intervals. Once melted, remove the mold from the refrigerator and spoon the chocolate over the top of each mold. Once finished, gently scrape the back of the mold with a knife or a spatula to smooth it out (look at pictures for examples). Place the mold back in the refrigerator for one more time to harden the chocolate – about 30 minutes again.
5.) Once the chocolates have hardened, carefully remove them from the mold and enjoy!!
Notes
*The bulk of the time is when the chocolates are in the refrigerator.

